
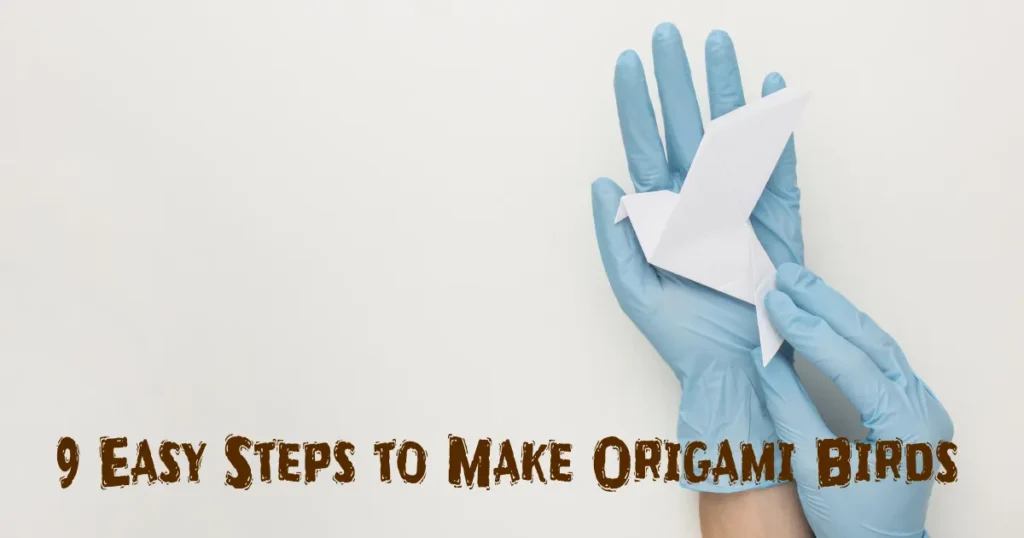
Introduction
Origami, the ancient Japanese art of paper folding, has captivated people worldwide with its ability to transform a simple sheet of paper into beautiful, intricate designs. Among the most popular and enchanting origami creations are birds – delicate, graceful figures that seem to take flight right before your eyes. Whether you’re a complete beginner or looking to refine your paper-folding skills, this comprehensive guide will walk you through creating your very own origami birds, step by step.
Why Origami Birds are Perfect for Beginners
Origami birds offer an ideal entry point into the world of paper folding. They:
- Require minimal materials (just a square piece of paper)
- Teach fundamental folding techniques
- Provide a sense of accomplishment quickly
- Can be created in just a few minutes
- Make excellent decorative items or thoughtful gifts
Materials You’ll Need
Before we dive into the folding process, gather these simple materials:
- One square piece of origami paper (preferably 6×6 inches)
- A flat, clean surface
- A bit of patience and enthusiasm
9 Detailed Steps to Create Your Origami Birds
1. Start with a Square Paper and Diagonal Creases
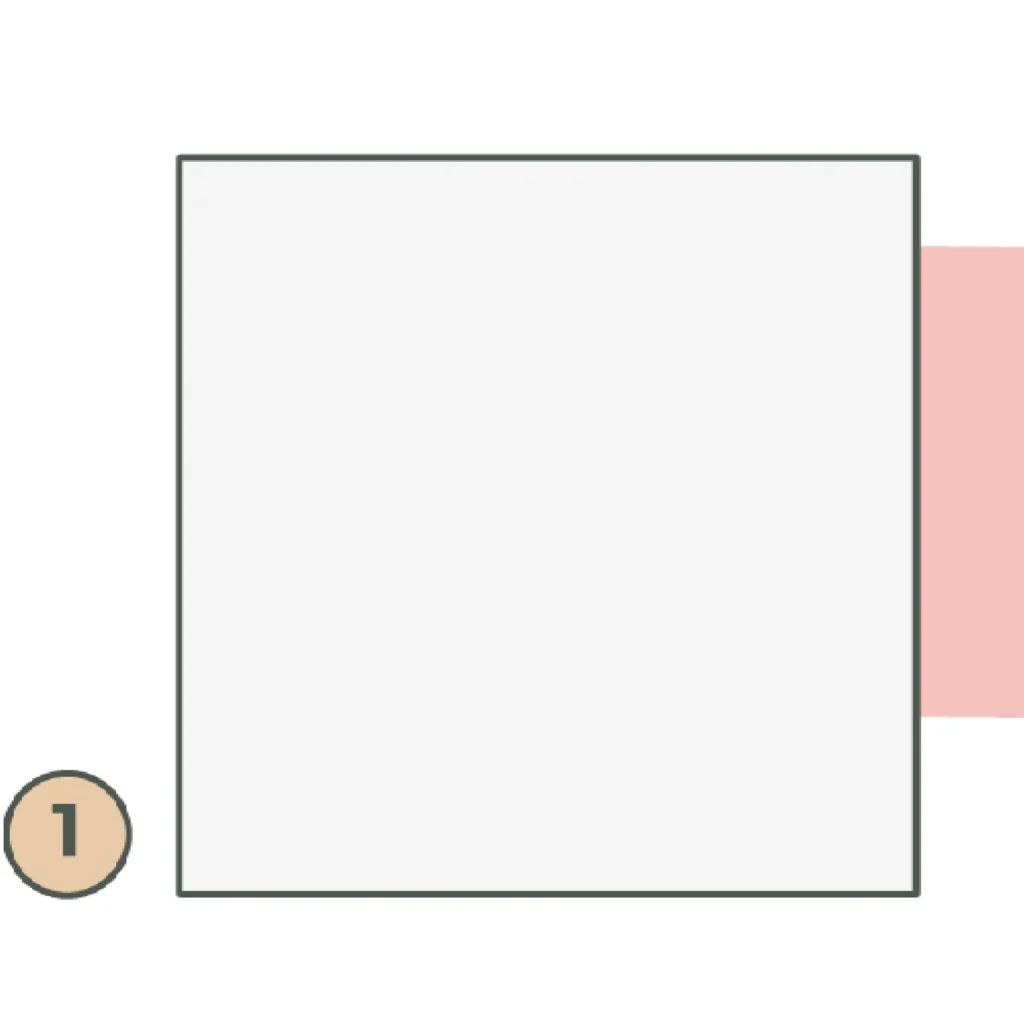
The foundation of any successful origami birds begins with precise initial folds. Take your square paper and:
- Fold the paper diagonally from one corner to the opposite corner
- Unfold and repeat with the other diagonal
- These creases create critical guidelines for subsequent folds
- Ensure your creases are sharp and precise by running your fingernail along each fold
2. Fold the Lower Corners Up to the Center

Building upon your diagonal creases:
- Locate the center point where your diagonal creases intersect
- Fold the bottom corners up to meet at this central point
- Your paper will now resemble a smaller square with triangular flaps at the top
3. Fold the Paper in Half Along the Central Vertical Crease
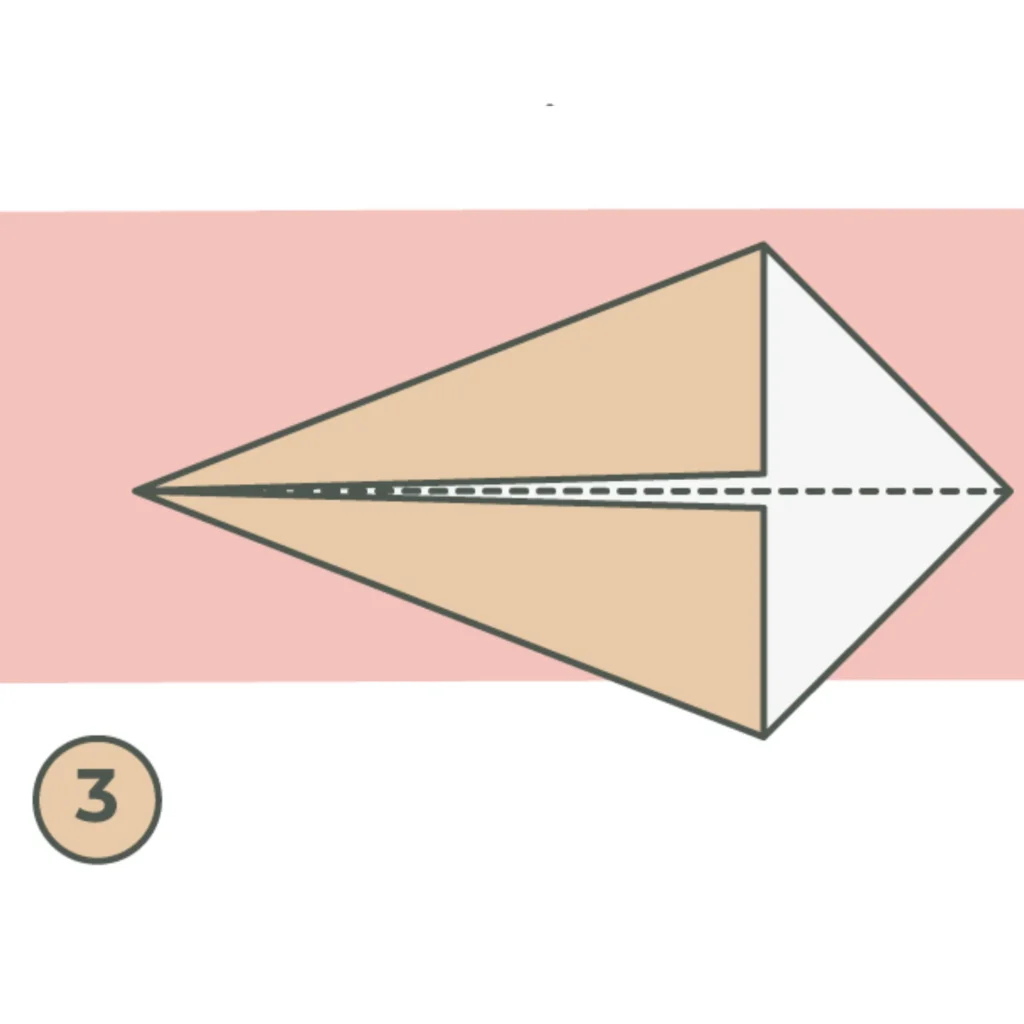
Continuing the precise folding:
- Take the bottom edge and fold it exactly to the top edge
- Align the edges carefully to maintain symmetry
- Create a crisp central vertical fold
- This step helps establish the bird’s basic structure
4. Make Another Fold by Bringing the Left Side to the Right
Refining the bird’s form:
- Take the left side of your folded paper
- Fold it precisely to meet the right side
- Ensure all edges are perfectly aligned
- This fold adds complexity and begins to shape your bird
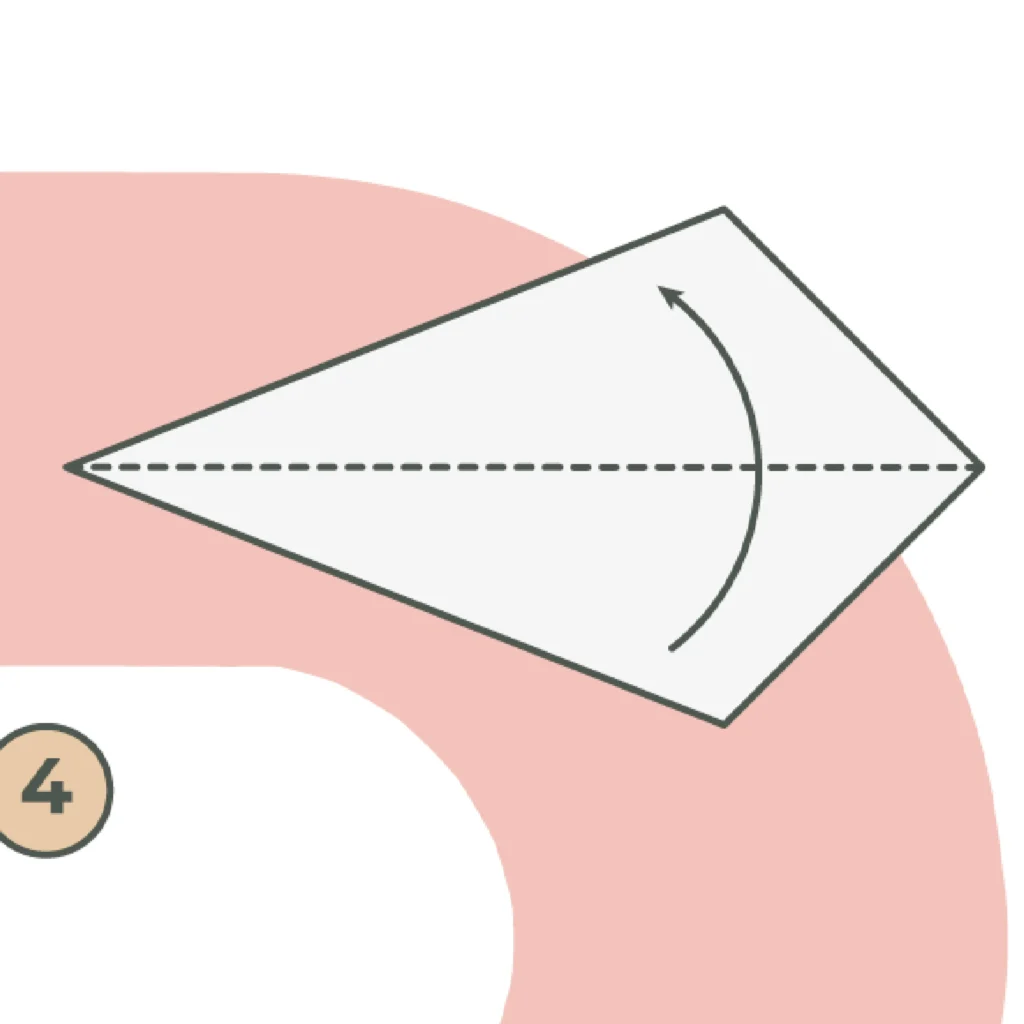
5. Fold the Paper in Half Horizontally
Creating the base structure:
- Fold the bottom section upward
- Align the edges meticulously
- This horizontal fold establishes the fundamental shape of your origami birds
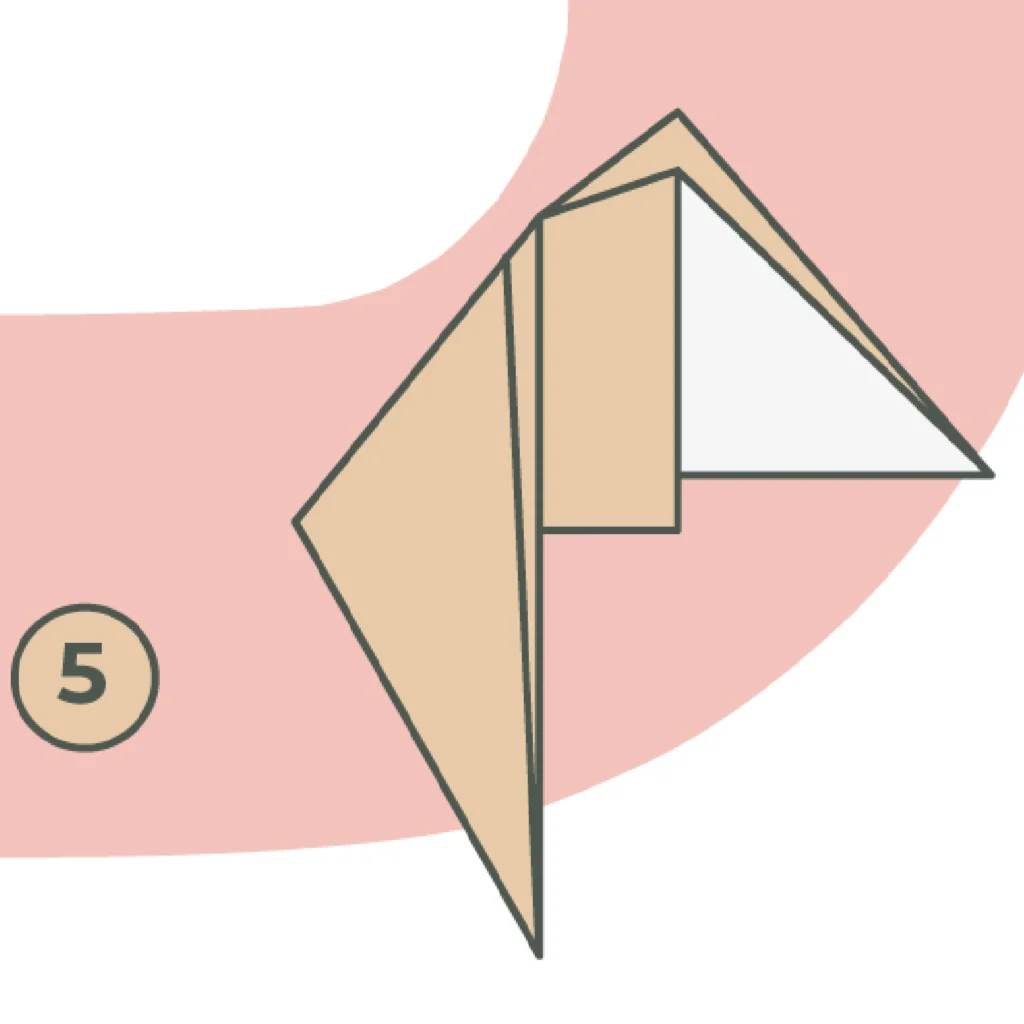
6. Flip the Triangle Up to Start Shaping the Body

Transforming your fold into a bird-like shape:
- Carefully lift the top triangular section
- Angle it upward to create the bird’s body
- Pay attention to symmetry and clean lines
- This step is crucial in giving your origami birds its distinctive form
7. Create the Head by Folding a Small Portion Down
Adding detail to your creation:
- Identify a small section at the top of your folded paper
- Fold this portion downward to form the bird’s head
- The size of this fold will determine the proportions of your bird
- Make small adjustments to achieve the desired look
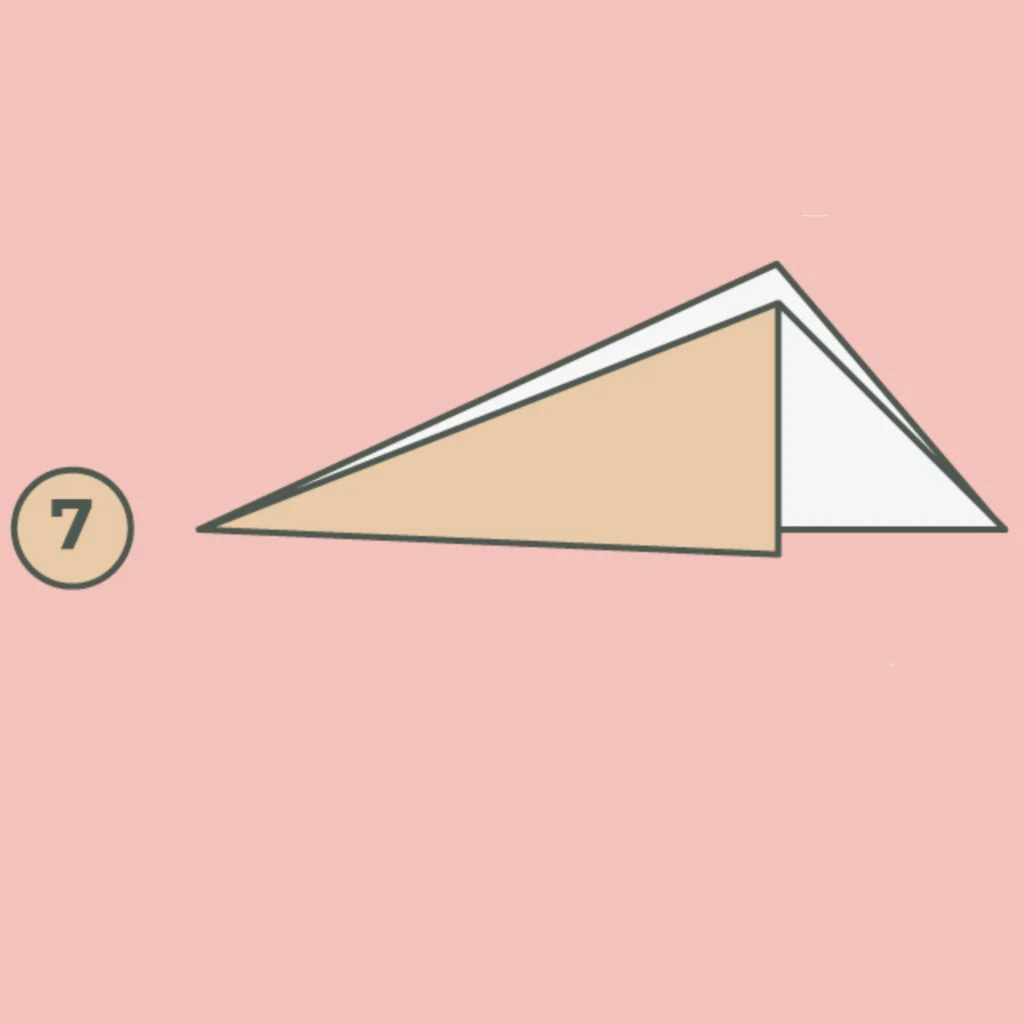
8. Adjust the Tail and Wings
Bringing your bird to life:
- Gently pull out the side flaps to form wings
- Adjust the tail section by slightly manipulating the paper
- Symmetry is key – ensure both wings and the tail look balanced
- Soft, gentle movements work best to avoid tearing the paper
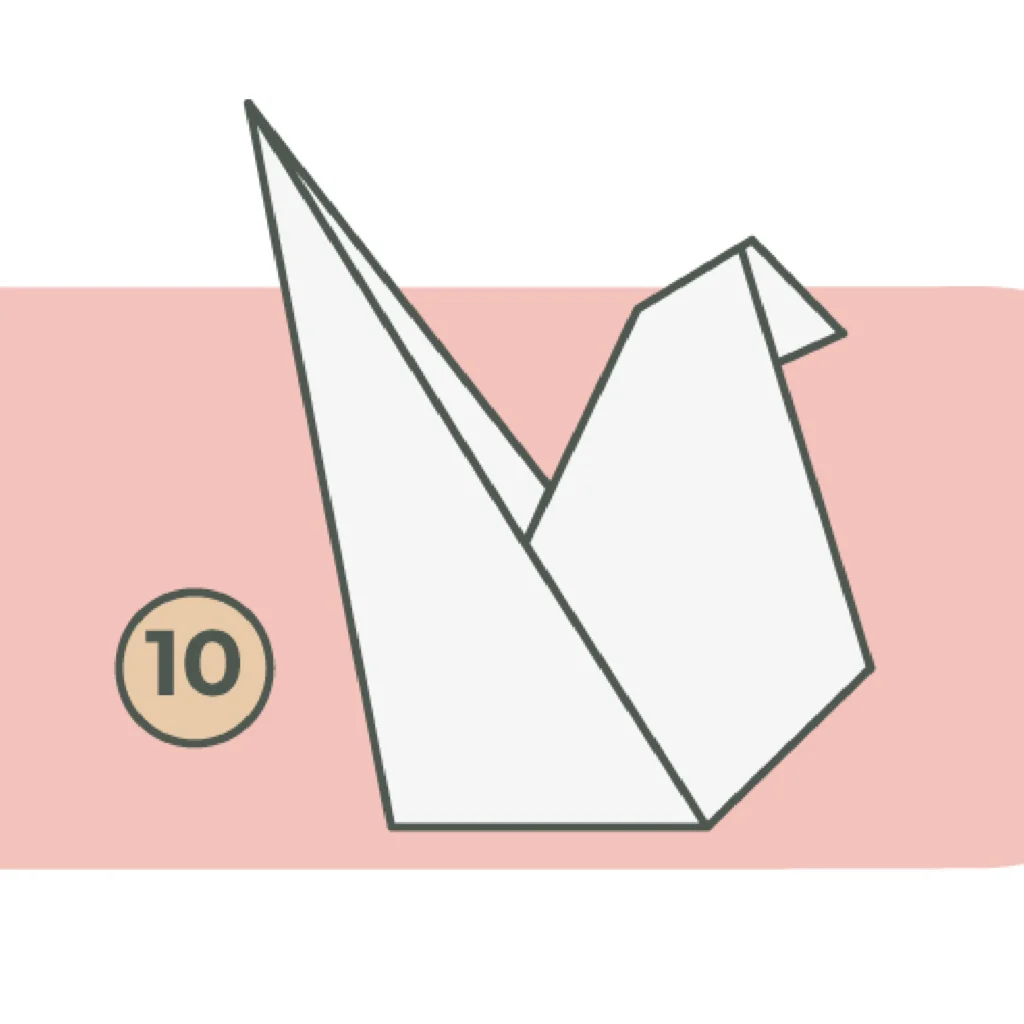
9. Final Adjustments to Refine the Shape
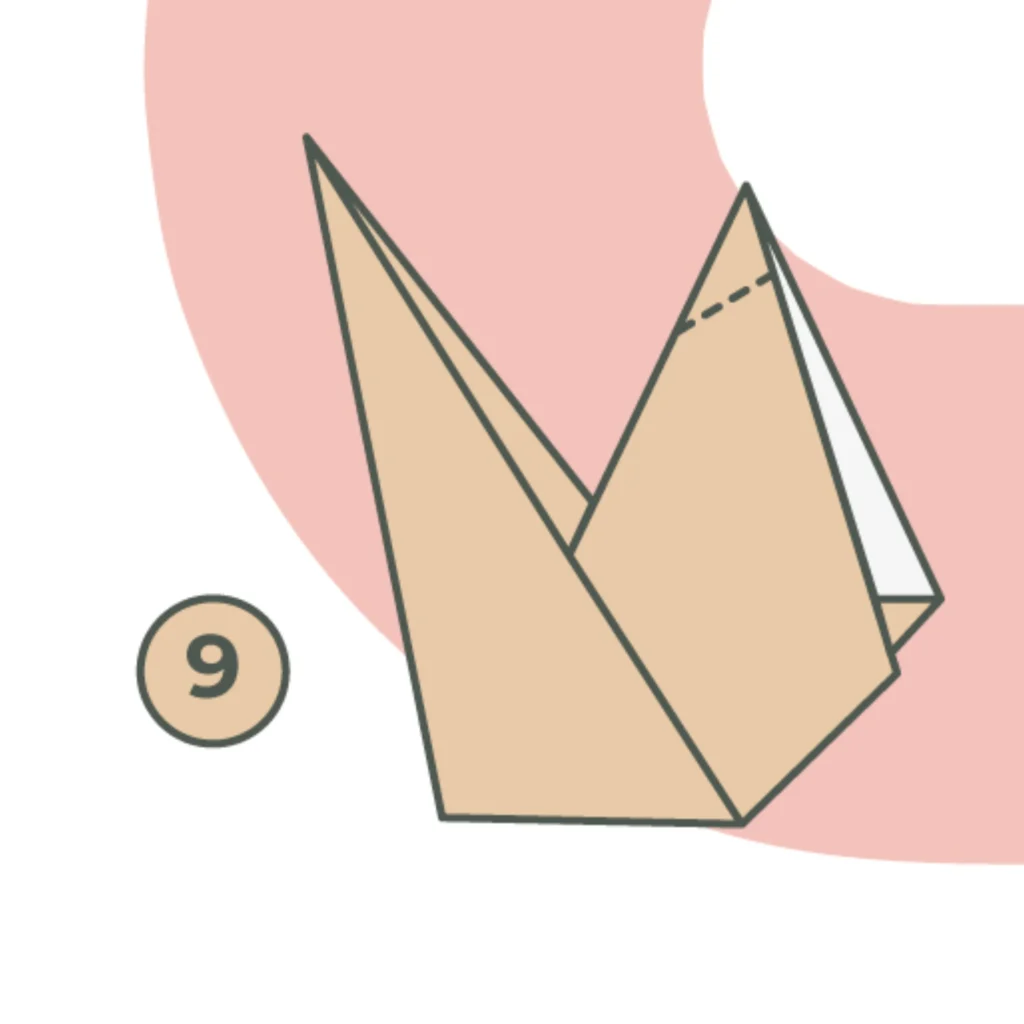
The finishing touches:
- Step back and examine your origami birds
- Make minor adjustments to improve overall appearance
- Smooth out any uneven edges
- Position the wings and tail to create a natural, dynamic pose
Troubleshooting Common Origami Birds Challenges
Uneven Folds
- Always use a hard, flat surface
- Work on a clean table or cutting mat
- Use a bone folder or credit card to create sharp creases
Torn Paper
- Start with larger paper sizes as a beginner
- Fold gently and avoid aggressive creasing
- Use specialized origami paper for best results
Recommended Resources for Origami Enthusiasts
To further develop your origami skills, check out these trusted resources:
- Origami-Resource.com – Comprehensive tutorials and patterns
- The Origami Foundation – Educational resources and workshops
- Origami-Instructions.com – Step-by-step guides for various skill levels
Conclusion
Creating an origami bird is a delightful journey of patience, precision, and creativity. With practice, you’ll find yourself crafting more complex and stunning designs. Remember, every fold is a step towards mastering this beautiful art form.
Tips for Origami Success
- Practice makes perfect
- Start with simple designs
- Use high-quality origami paper
- Be patient with yourself
- Enjoy the process of learning
Frequently Asked Questions
Q: How long does it take to make an origami bird? A: For beginners, it might take 10-15 minutes. With practice, you can complete a bird in 5 minutes or less.
Q: What type of paper is best for origami? A: Specialized origami paper works best, but you can start with any square piece of paper that holds a crease well.
Q: Can children learn to make origami birds? A: Absolutely! Children aged 7 and up can learn with adult guidance and supervision.